I remember the first time I tried to make country fried chicken at home: the crust went soft within minutes and the breast was dry. After several tests I settled on a short brine, a buttermilk soak, and a two-stage flour dredge that creates a tall, crackly crust while protecting the meat. This country fried chicken delivers a crispy, textured crust and a tender interior—exactly what I aim for when texture matters most.
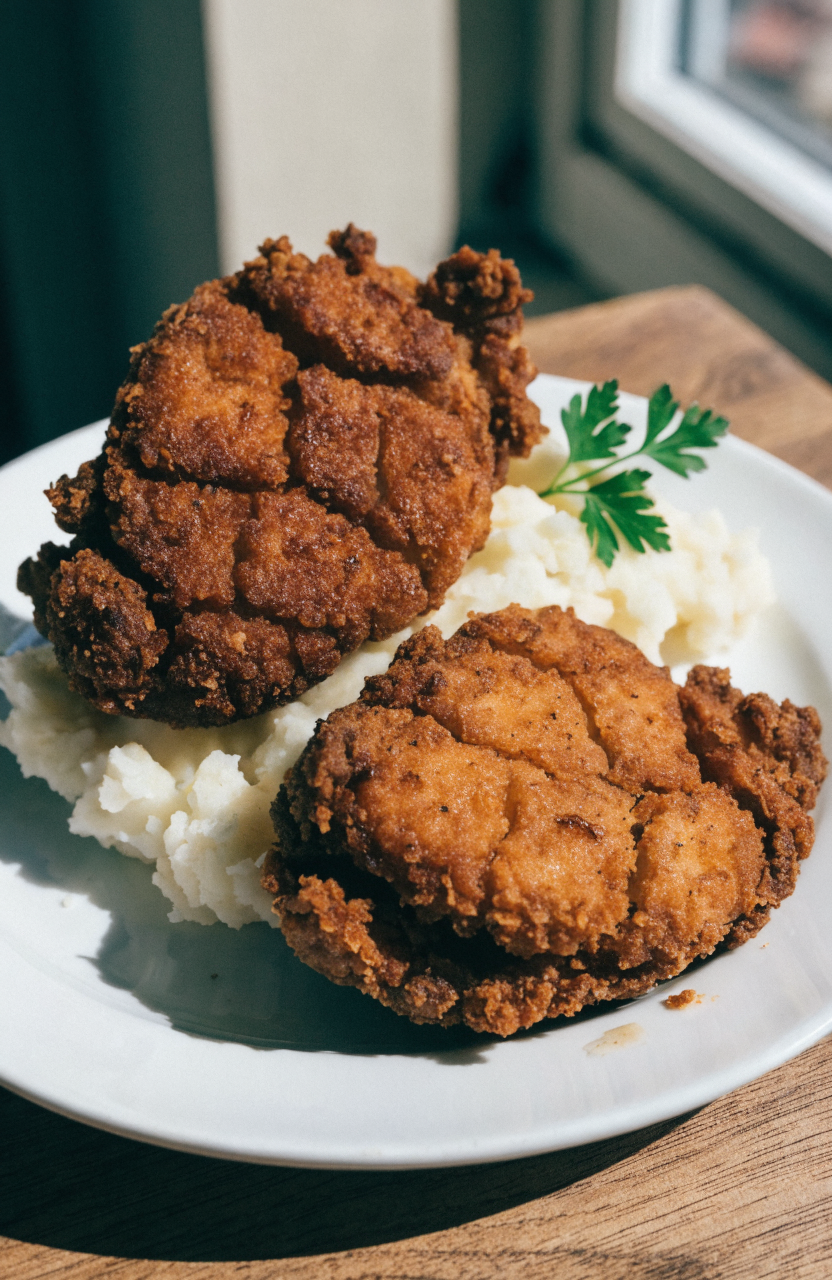
Why this country fried chicken works
The technique centers on three things: a short salt brine to improve juiciness, a buttermilk soak to tenderize and help the coating adhere, and a two-stage dredge (seasoned flour, then wet dip, then double-flour finish) to build a thick, crunchy crust. I learned that skipping the brief brine often led to drier chicken breast, and that a single thin coating will turn limp quickly under steam. During testing I adjusted the oil temperature and resting time between frying batches so the crust stays crisp and the inside stays at a safe 165°F without overcooking.
Key takeaways
- Short brine and buttermilk soak keep breasts juicy.
- Two-stage dredge builds a tall, crackly crust that resists sogginess.
- Maintain oil at 325–350°F and rest on a wire rack to keep the coating crisp.
Ingredients you’ll need and what to substitute
For this country fried chicken I use boneless skinless chicken breasts, but the method works for bone-in thighs if you adjust cooking time. Buttermilk adds tang and helps the coating cling; if you don’t have buttermilk, stir 1 tablespoon lemon juice or white vinegar into 1 cup milk and let it sit 5 minutes. The seasoned flour must include both salt and a little baking powder—the baking powder gives extra lift to the crust. I tested both plain all-purpose flour and a 50/50 mix with cornmeal; cornmeal gives a grittier crust and is a nice variation but browns a touch faster. Use neutral oil with a high smoke point (vegetable, canola, or refined avocado) for frying; olive oil will smoke and taste odd at these temperatures.
Equipment
You don’t need fancy gear, but a few items make the process reliable: a heavy 4- or 6-quart Dutch oven or a 12-inch heavy skillet for stable oil temperature, a deep-fry thermometer or an instant-read probe thermometer, a large rimmed baking sheet with a wire rack for resting cooked chicken, and shallow bowls for dredging. A splatter screen is a useful optional item if your stove tends to sputter.
How to make country fried chicken
SECTION: Brine and prep
Start 30–90 minutes before frying by brining the chicken. In a bowl, dissolve 1 tablespoon kosher salt in 4 cups cold water. Add two boneless, skinless chicken breasts (about 1 1/2 pounds total), submerge, and refrigerate for 30 minutes. Pat the breasts dry and, if thick, butterfly or pound them gently to an even thickness of about 3/4 inch—this ensures even cooking.
SECTION: Buttermilk soak and dredge
Place the brined, dried chicken in a bowl and pour 1 1/4 cups buttermilk over it; add 1 teaspoon hot sauce or smoked paprika if you like a subtle tang. Cover and refrigerate 30 minutes while you mix the coatings. For the seasoned flour mix together 2 cups all-purpose flour, 1/4 cup cornstarch, 1 tablespoon baking powder, 2 teaspoons kosher salt, 1 teaspoon black pepper, 1 teaspoon garlic powder, and 1 teaspoon onion powder. Place 2 beaten large eggs in a separate shallow bowl with 2 tablespoons water for the wet dip stage. Have the seasoned flour in two shallow trays: one labelled “first dredge” and the other “finish dredge.”
SECTION: Frying
Heat 1 1/2 inches of oil in a heavy skillet or Dutch oven over medium heat to 325°F. I found that starting slightly lower and letting the oil stabilize reduced excessive browning. Working one piece at a time, remove chicken from buttermilk, let excess drip off, then press into the first dredge, tap off loose flour, dip into the egg wash, then coat thoroughly in the finish dredge. Rest the coated breasts on a wire rack for 5–10 minutes to let the crust set; this prevents the coating from sliding in the pan.
Fry in batches: gently lower each breast into the oil and fry 4–6 minutes per side, keeping oil between 325°F and 350°F. Flip once when the underside is golden-brown. Use a thermometer to check internal temperature—remove chicken at 160°F and let it rest; it will reach 165°F while resting. Drain on a wire rack set over a rimmed baking sheet, not on paper towels (paper traps steam and softens the crust). While the first batches cook, reduce heat slightly between batches and allow the oil to return to temperature before adding new pieces.
Things I learned the hard way
- If the chicken is too thick it overcooks on the outside before the center reaches 165°F—pound or butterfly to 3/4-inch thickness.
- Skipping the short brine made breasts noticeably drier; even 30 minutes helps texture.
- Not resting the coated pieces before frying caused the coating to slip off; a 5–10 minute rest sets the crust.
- Overcrowding the pan drops oil temperature and yields greasy, limp crust; fry in small batches and monitor temperature.
- Using paper towels to drain produced soggy bottoms—always rest on a wire rack so air circulates around the chicken.
Variations to try
If you want a spicier crust, add 1 teaspoon cayenne to the flour or swap smoked paprika for regular. For a cornmeal crunch, replace 1/2 cup of the flour with yellow cornmeal and reduce frying time by a minute per side because cornmeal browns faster. To turn this into country fried chicken tenders, slice the breasts into strips and reduce fry time to 3–4 minutes per side. For a lighter finish, try shallow pan-frying with 3 tablespoons oil and finish in a 425°F oven for 6–8 minutes, but note the oven method produces a slightly drier crust texture.
Storage, freezing, and reheating
Refrigerate leftover chicken in an airtight container for up to 3 days. To reheat and recover crispness, preheat the oven to 375°F and place pieces on a wire rack over a baking sheet; reheat 12–15 minutes until internal temperature reaches 165°F. Avoid microwaving unless you accept a softer crust. Cooked chicken freezes well: cool completely, wrap individually in parchment and foil or vacuum-seal, and freeze for up to 2 months. Thaw overnight in the refrigerator and re-crisp in a 375°F oven for 12–20 minutes depending on piece size.
What to serve with country fried chicken
I like serving this country fried chicken with creamy mashed potatoes or a pan gravy made from simmered chicken stock and drippings, roasted green beans tossed with lemon and butter, and a simple slaw to cut the richness. For a weekend spread, add buttermilk biscuits or cornbread and pickled vegetables for contrast.
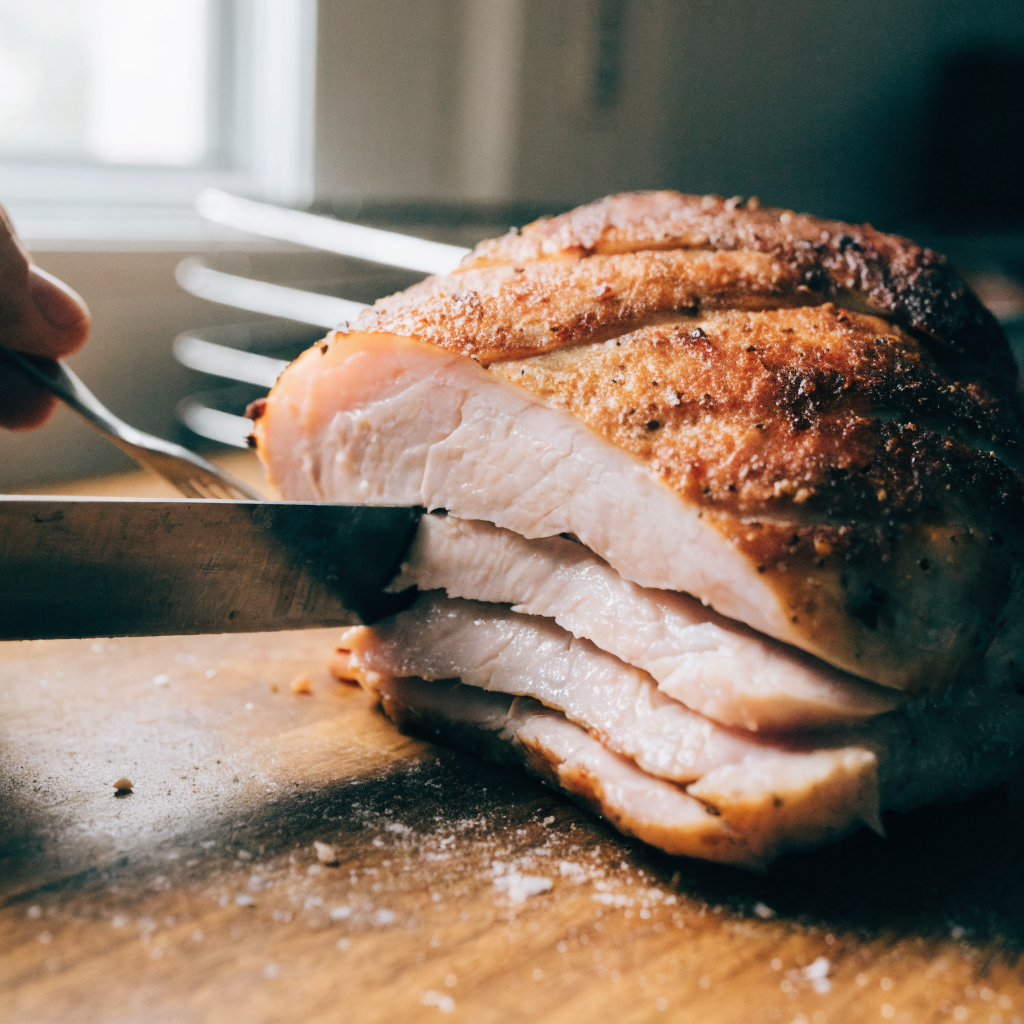
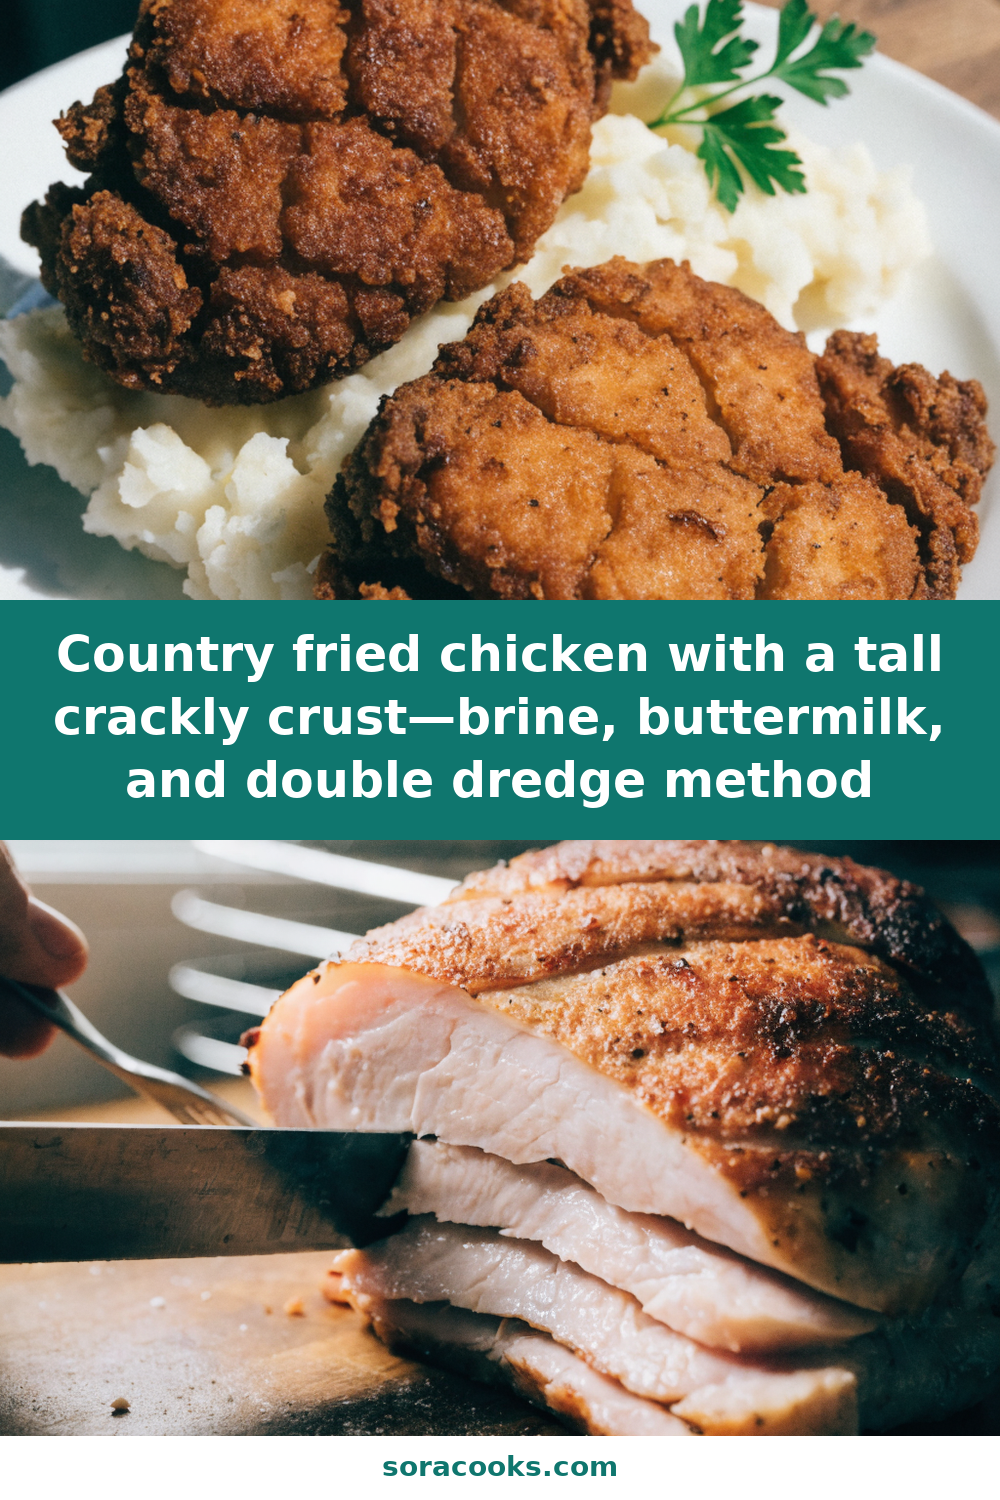
Country Fried Chicken with Extra-Crisp Crust
Ingredients
Equipment
Method
- Combine 4 cups cold water and 1 tablespoon kosher salt until dissolved; add chicken breasts, submerge, and refrigerate 30 minutes. Remove, pat dry, and butterfly or pound to an even 3/4-inch thickness.
- Place chicken in a bowl and pour 1 1/4 cups buttermilk over it; cover and refrigerate 30 minutes while you prepare the coatings. Whisk 2 large eggs with 2 tablespoons water in a shallow bowl for the wet dip.
- Mix 2 cups flour, 1/4 cup cornstarch, 1 tablespoon baking powder, 2 teaspoons kosher salt, 1 teaspoon black pepper, 1 teaspoon garlic powder, and 1 teaspoon onion powder; divide into two shallow trays labelled 'first dredge' and 'finish dredge.'
- Working one piece at a time, remove a chicken breast from buttermilk and let excess drip off. Press into the first dredge to coat, tap off loose flour, dip into the egg wash, then press into the finish dredge until well coated. Place on a wire rack and let rest 5–10 minutes so the coating sets.
- Heat 1 1/2 inches of oil in a heavy skillet or Dutch oven over medium heat to 325°F. Fry chicken in small batches, gently lowering each breast into the oil and cooking 4–6 minutes per side, keeping oil between 325°F and 350°F. Flip once when golden-brown. Use an instant-read thermometer and remove chicken at 160°F internal; it will reach 165°F while resting.
- Transfer cooked chicken to a wire rack set over a rimmed baking sheet to drain; do not stack. Allow 5 minutes rest before serving.
Notes
Frequently asked questions
Q: Can I use chicken thighs instead of breasts?
A: Yes—bone-in thighs will take longer (about 12–15 minutes per side at 325°F); use a probe thermometer and remove at 175°F for tender thigh meat. Boneless thighs cook similarly to breasts but check for doneness at 165°F.
Q: Why did my crust go soft after frying?
A: The most common causes are overcrowding the pan (which drops oil temperature), draining on paper towels, or storing hot chicken in a covered container where steam softens the crust. Rest on a wire rack and avoid stacking while cooling.
Q: Can I make the coating ahead?
A: You can prepare the seasoned flour mixes ahead and keep them sealed at room temperature for several days; assembled but uncooked and breaded chicken is best cooked immediately, but you can refrigerate breaded pieces up to 2 hours before frying to help the coating adhere.
Q: Is it safe to use a thermometer while frying?
A: Yes, a probe thermometer is essential for checking internal chicken temperature; use a candy or deep-fry thermometer to monitor oil and an instant-read thermometer for the meat.
Q: My chicken is browning too quickly—what should I do?
A: Lower the oil temperature slightly and watch the thermometer. Lighter-colored breading often needs a lower frying temperature to reach a safe internal temperature without burning the exterior.
Closing
This country fried chicken focuses on texture first: a brine and buttermilk soak protect the meat while the two-stage dredge creates a tall, crisp crust that stays crunchy if you rest on a wire rack and avoid overcrowding. Leftover pan drippings also make an easy pan gravy to spoon over each serving for extra moisture and flavor. It’s a method I keep returning to when I want reliably textured, juicy chicken for family dinners.




Leave a Reply